
Save Time With Quick Create – Send Parcels in less than 60 seconds
When it comes to sending parcels (domestically) some of us get intimidated.
Not because the process is tough but because sometimes filling up forms (especially if you have to send a whoooole bunch of them) is super duper inconvenient and takes so much time!
Introducing Quick Create – The Solution Of The Problem
Filling up long forms can be extremely troublesome especially if you are an online seller and you are supposed to send many parcels per day.
Imagine having to fill up sender and receiver details over and over again – it can feel excruciatingly painful.
Worry not though – we’ve come up with an easy solution! Now you can save time with Quick Create!!
Quick Create is a new added feature to our website where customers now can send multiple parcels with ease and convenience.
Still reading? Smart move.
Let us teach you how to use the feature that has been carefully crafted and curated for the sole purpose of saving our community’s time.
Step 1: Head to our Website
Head to our website and click on the Quick Create button.

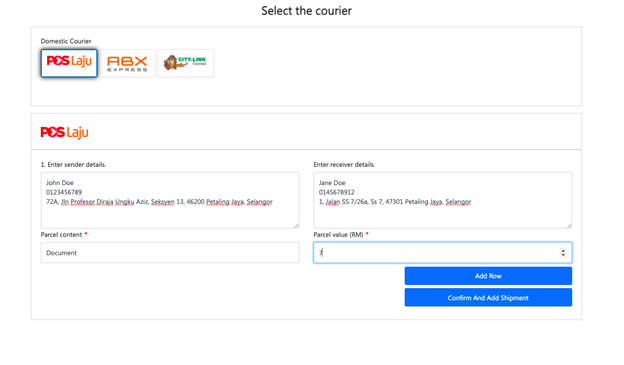
Step 2: Select A Courier
Once you are at this page, you would see that you have to choose your courier to make a successful order.
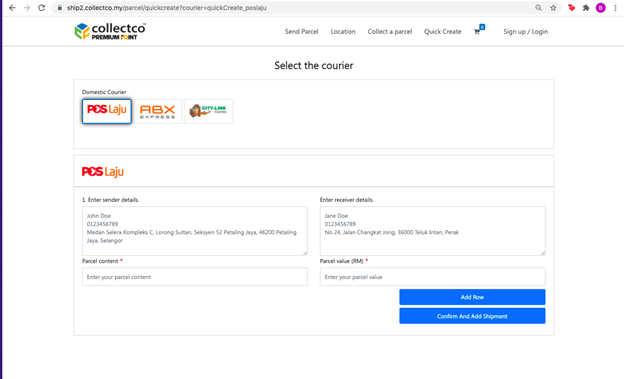
Step 3: Fill Up Details
Once you select your selected courier, this form will appear for you to add the details of the sender & receiver and also the details of your parcel.
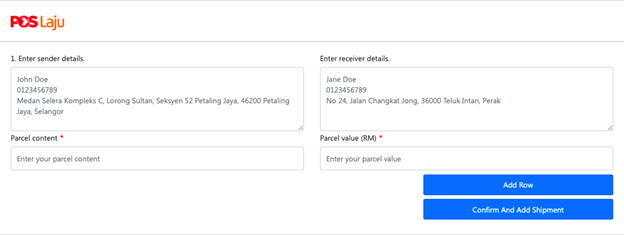
Keep in mind that you would need to follow the format that is shown on the screen. So add your sender/receivers details in this order:
1. Name
2. Phone Number
3. Address
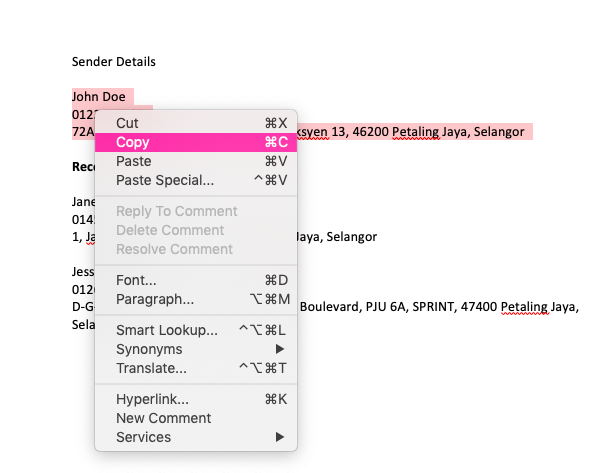
You can also copy/paste these information from Word Documents so that you don’t even need to manually enter the details.

Then add the parcel content and the parcel value.
Step 4: Add Another Shipment
Click “Add Row” to create a multi-shipment order.
You will also notice that the Sender Details are the same as the previous order but the Receiver Details section is empty for you to fill up the details of the second receiver.
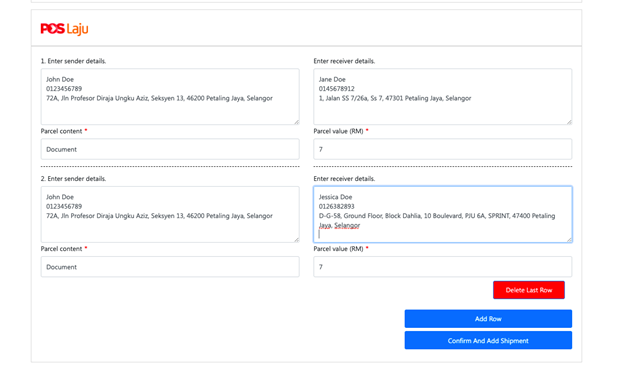
Once you have entered the second shipment, you can press the “Confirm and Add shipment” button. Keep in mind that senders can only send up to 10 multiple shipment orders at a time.
With this in mind, customers and users can add multi-shipment orders whilst saving their time as they would not need to re-enter the Sender Details more than once.
Step 5: Shopping Cart
Once you have confirmed the order, you will be directed to a Shopping Cart where you would also have the option to edit the details of the form just in case you need to change anything at all. Once you have made the changes, click Confirm and proceed to Check Out.
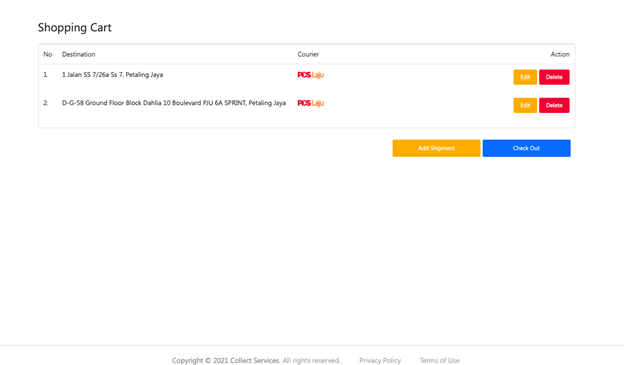
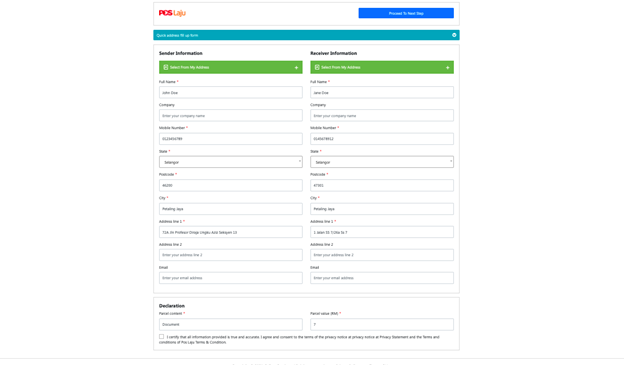
You will even notice that the details that you initially filled up are reflected to a long form – highlighting how fast and easy sending parcels has become.
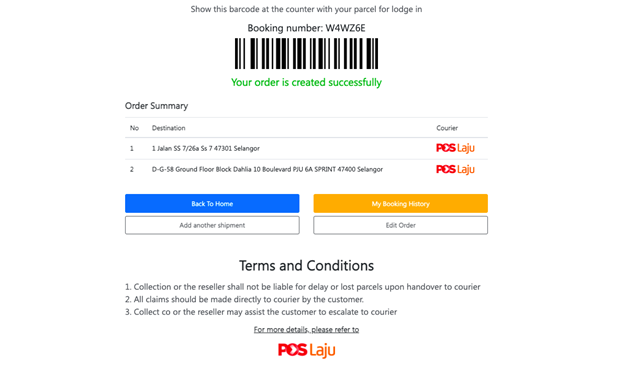
Step 6: Booking Number
You will then be directed to a page where you would be able to see a Bar Code and a Booking Number. Get the Booking Number and send it to the nearest CollectCo Premium Point so that your parcel can be lodged into the system and for the order to be created successfully.
Convinced? We thought so too.
For further information on how to use and save time with Quick Create function, watch our video here.